How to Mix and Blend Tracks Using Your DJ Controller
The step-by-step guide “How to Mix and Blend Tracks Using Your DJ Controller” is designed to help you learn the essentials of mixing and blending tracks using a DJ controller. DJ controllers are an essential tool for DJs as they allow you to manipulate and blend multiple tracks seamlessly.
In this guide, you will be provided with a series of clear and easy-to-follow steps that will walk you through the entire process of mixing and blending tracks. From connecting your DJ controller to your computer or audio system to understanding the various controls and features, this guide will give you the confidence and skills to create smooth transitions and seamless mixes.
Whether you are a beginner looking to explore the world of DJing or an experienced DJ seeking to enhance your skills, this step-by-step guide will serve as a valuable resource, providing you with the knowledge and techniques needed to mix and blend tracks using your DJ controller effectively.
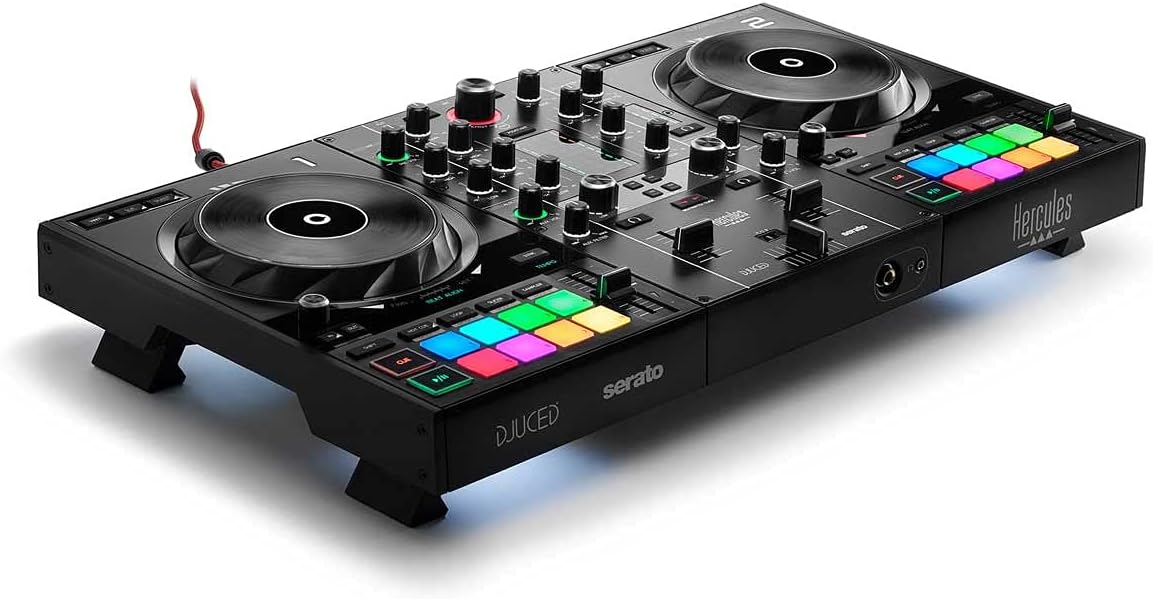
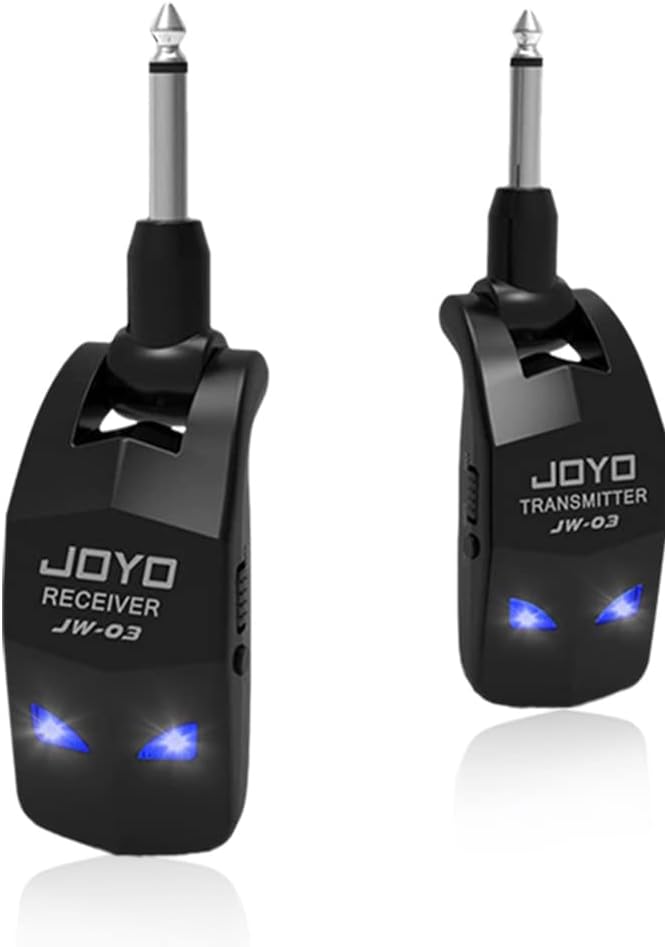
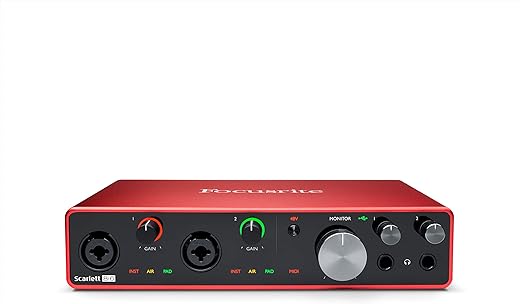
Top-selling DJ controllers in the market


Setting up your DJ controller
To connect your DJ controller to your computer or audio interface, follow these steps:
- Step 1: Locate the USB port on your DJ controller and the corresponding port on your computer or audio interface.
- Step 2: Connect one end of the USB cable to the USB port on your DJ controller, and the other end to the USB port on your computer or audio interface.
- Step 3: Make sure your DJ controller is powered on and ready to connect.
- Step 4: Once the physical connection is established, you may need to install any necessary drivers and software for your specific DJ controller. These can usually be found on the manufacturer’s website. Follow the instructions provided with the drivers and software to complete the installation process.
Here’s an example: To connect your Pioneer DDJ-SB3 DJ controller to your computer, locate the USB port on the back of the controller and the corresponding USB port on your computer. Connect one end of the USB cable to the USB port on the controller and the other end to the USB port on your computer. Make sure the controller is powered on by connecting it to a power source. Next, visit the Pioneer website and navigate to the DDJ-SB3 product page. Download and install the latest drivers and software provided for the DDJ-SB3. Follow the on-screen prompts to complete the installation process.


Preparing your tracks
- Organize your tracks in your DJ software or library: Start by importing your tracks into your DJ software or library. Create folders or playlists to categorize your tracks based on genre, mood, or any other criteria that makes sense to you. This will help you quickly find the right tracks when you’re performing. Consider using a consistent naming convention for your files to keep everything organized and easily identifiable.
- Analyze the BPM and key of each track: Take the time to analyze the BPM (beats per minute) and key of each track. Most DJ software has built-in BPM and key detection tools, but make sure to double-check and adjust if necessary. Understanding the BPM and key of your tracks is crucial for beatmatching and harmonic mixing. It allows you to seamlessly blend tracks together and create smooth transitions.
- Set cue points, loops, and other markers to help with mixing: Utilize the features provided by your DJ software to set cue points, loops, and other markers in your tracks. These markers act as reference points during your performance, helping you remember key sections of a track. Set cue points at the beginning of a track, at breaks, or any part that you want to highlight or mix into. Loops can be used to create repetitive sections or to extend a particular part of a track. Experiment with these features and find what works best for your mixing style.
- Ensure that all tracks are properly labeled and tagged: Properly labeling and tagging your tracks is crucial for efficient track management. Ensure that each track is labeled with the correct artist name, track title, and any other relevant information. Additionally, add relevant tags or keywords to further categorize your tracks, such as the genre, mood, or energy level. This will make it easier for you to search and find specific tracks when you need them. Take the time to review and update the metadata of your tracks regularly to keep your library organized and up to date.
By following these steps to organize, analyze, set markers, and label your tracks, you will have a well-structured and easily navigable library. This will greatly enhance your DJing experience, allowing you to mix tracks seamlessly and effortlessly during your performances.
Beatmatching and blending
Load two tracks onto your DJ software decks. Ensure that both tracks are in your library and ready to be mixed. Locate the first track and drag it onto one of the decks in your DJ software. Repeat this step for the second track, placing it on the other deck.
Use the pitch control on your controller to match the BPM (beats per minute) of the two tracks. Adjust the pitch fader up or down until the beats of both tracks are in sync. This will ensure a seamless transition between the two songs. Take your time to fine-tune the pitch until you achieve a smooth blend.
Next, use the EQ controls on your controller to adjust the volume levels and create a balanced transition between the tracks. Experiment with the high, mid, and low frequency sliders to find the right mix for your desired effect. By adjusting these settings, you can eliminate any harsh frequencies and create a smoother transition between the tracks.
Finally, gradually blend the tracks together using the crossfader. Move the crossfader slowly from one side to the other, allowing the first track to fade out while the second track fades in. This technique creates a seamless and gradual transition between the two songs, enhancing the overall listening experience. Practice this technique to develop your own unique style of beatmatching and blending.
Adding effects and transitions
Experiment with different effects such as reverb, delay, and filters to add creativity and depth to your mix. Start by selecting a track on your DJ software and locate the effects panel. Click on the dropdown menu and choose an effect that you want to apply. For example, try adding reverb to create a sense of space and depth in your mix. Adjust the parameters such as decay, size, and wet/dry mix to achieve the desired effect. Listen to how the reverb changes the sound and experiment with different settings to find your preferred sound.
Use the mixer controls on your DJ controller to smoothly transition between tracks. Begin by loading two tracks onto separate decks on your DJ software. Adjust the volume faders on your DJ controller so that both tracks are playing at an equal level. Then, use the crossfader to gradually fade in the new track while fading out the current track. Practice this technique to create seamless transitions between songs. Additionally, you can use EQ controls to blend the frequencies of the two tracks and create a smooth mix. For example, try reducing the bass on the outgoing track while gradually increasing the bass on the incoming track for a smooth transition.
Practice using various techniques like cutting, scratching, and looping to enhance your mix. Experiment with cutting, which involves quickly turning the volume on and off to create rhythmic patterns. Try scratching by using the jog wheels on your DJ controller to manipulate the sound and add a unique element to your mix. You can also use looping to repeat a specific section of a track, creating a repetitive rhythm or extending a catchy part. Explore these techniques and find ways to incorporate them into your mix to add excitement and creativity. Remember to practice these techniques regularly to improve your skills and master the art of DJing.
Recording and fine-tuning your mix
- Record your mix using the recording feature in your DJ software. Start by opening your DJ software and locating the recording feature. Click on the record button to begin recording your mix. Make sure to set the recording quality to a suitable level to capture the audio accurately. As you mix, pay attention to your track selection, transitions, and overall flow, ensuring a smooth and cohesive experience for your listeners. Once you have completed your mix, click on the stop button to end the recording.
Example: Open your DJ software and find the recording feature. Click on the record button to start recording your mix. Set the recording quality to a suitable level. Pay attention to your track selection, transitions, and overall flow to create a smooth and cohesive mix. When you are finished, click on the stop button to end the recording.
- Listen back to your mix and make any necessary adjustments in terms of track selection, transitions, and overall flow. Take some time to critically evaluate your recorded mix. Listen for any sections where the transitions may not be seamless or where the track selection may not be as effective as you initially thought. Identify these areas for improvement and make note of them. Consider experimenting with different track combinations or adjusting the EQ settings to enhance the overall sound quality.
Example: Take the time to listen to your recorded mix and critically evaluate it. Pay attention to any sections where the transitions are not seamless or where the track selection could be improved. Make note of these areas for improvement. Consider experimenting with different track combinations or adjusting the EQ settings to enhance the overall sound quality.
Final Thoughts and Recommendations
In conclusion, mastering the art of mixing and blending tracks using your DJ controller requires practice, experimentation, and a commitment to continuous improvement. Throughout this guide, we have explored various techniques and considerations to help you achieve a seamless and professional mix. By understanding the importance of beatmatching, using EQ effectively, and incorporating creative transitions, you are well on your way to creating captivating DJ sets. However, it is crucial to remember that this skill takes time and effort to develop. Keep practicing, experimenting with different techniques, and always strive for improvement. With dedication and persistence, you will soon be able to effortlessly mix and blend tracks, captivating your audience and creating memorable DJ performances.


I’ve been using the techniques from this guide in my live DJ performances and it has made a huge difference. The ability to seamlessly blend tracks and create smooth transitions has really elevated my sets. It keeps the energy flowing and the crowd engaged. I highly recommend this guide to any aspiring DJs looking to improve their mixing skills.
That’s fantastic to hear! We’re thrilled that the techniques from this guide have had a positive impact on your live performances. Creating smooth transitions and keeping the energy flowing is essential for a great DJ set. Thank you for recommending our guide to others!
I followed this guide and was able to successfully mix and blend tracks using my DJ controller. The step-by-step instructions were clear and easy to follow. I particularly found the section on beatmatching and blending very helpful. It allowed me to seamlessly transition between tracks and create a smooth and cohesive mix. I also appreciated the tips on adding effects and transitions, as it added an extra layer of creativity to my mixes. Overall, I’m really happy with the results I achieved by following this guide.
One tip I would add is to practice beatmatching and blending with tracks that have similar BPMs and keys. This helps to create a more seamless and harmonious mix. Additionally, experimenting with different effects and transitions can really enhance the overall sound and feel of your mix. Don’t be afraid to try out new techniques and explore different genres of music to keep your mixes fresh and interesting.
Thank you for sharing your additional tips! Practicing with similar BPMs and keys is indeed a great way to maintain a smooth flow in the mix. And you’re absolutely right, experimenting with effects and transitions can add a unique touch to the mix. It’s all about being creative and exploring new possibilities!