How to achieve specific guitar tones with effects pedals?
The step-by-step guide “How to achieve specific guitar tones with effects pedals” is designed to help you master the art of manipulating your guitar’s sound using effects pedals. Regardless of your skill level, this guide will equip you with the knowledge and techniques needed to create a wide variety of tones and develop your own unique style. Get ready to unleash your creativity and take your guitar playing to new heights!
Crazy Fact: Did you know that Jimi Hendrix used a total of 27 different effects pedals to create his iconic guitar tones?
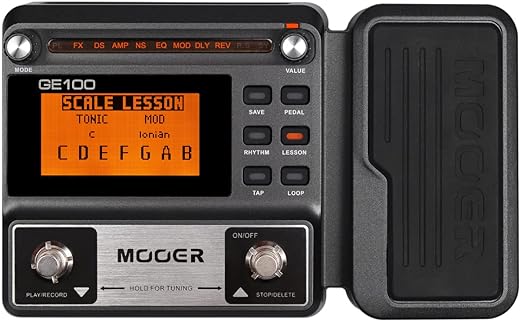
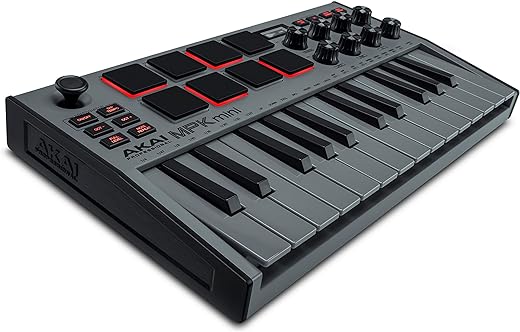
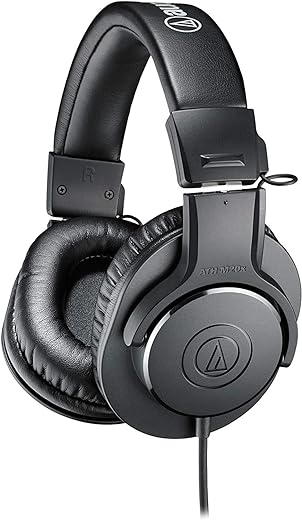
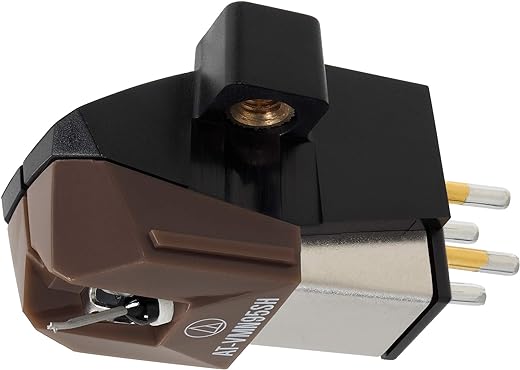
Top-Rated Effects Pedals


Understanding Effects Pedals
Before diving into achieving specific guitar tones, familiarize yourself with the different types of effects pedals available. Start by learning about distortion, overdrive, delay, reverb, modulation, and other common effects. Understanding how these pedals alter your guitar’s sound and how they can be combined will help you create a wide range of tones.
- Distortion: Begin by exploring distortion pedals, which add a gritty and aggressive tone to your guitar. Experiment with different levels of distortion to find the sound that suits your style. Adjust the gain and tone knobs to customize the effect.
- Overdrive: Next, delve into overdrive pedals, which provide a smooth and warm tone. These pedals are great for adding some extra bite to your sound without overpowering it. Experiment with the level of overdrive and tone settings to achieve the desired effect.
- Delay: Move on to delay pedals, which create an echo effect by repeating and fading the sound. Experiment with different delay times and feedback settings to achieve various sounds, from subtle repeats to long and atmospheric echoes.
- Reverb: Explore reverb pedals, which simulate the natural reverberation of different spaces. Adjust the decay knob to control the length of the reverb effect, and experiment with different room sizes and reflections to create the desired ambience.
- Modulation: Dive into modulation pedals, such as chorus, flanger, and phaser, which add movement and depth to your guitar’s sound. Experiment with the rate, depth, and intensity settings to achieve unique and swirling tones.
Remember to experiment and combine different effects pedals to create your own unique signature sound. Start with one pedal at a time and gradually introduce new ones into your setup. Take your time to understand the impact of each effect and how they interact with one another. Most importantly, trust your ears and have fun exploring the possibilities that effects pedals offer.


Identifying Your Desired Tone
To identify your desired guitar tone, follow these steps:
- Listen and analyze: Start by listening to songs or guitarists that inspire you. Pay close attention to the characteristics of their tones, such as the overall sound, clarity, and any specific effects used. Take note of the type of guitar used, the amp settings, and the playing techniques employed.Example: Listen to Jimi Hendrix’s “Purple Haze” and focus on his distorted guitar tone with a prominent wah-wah effect.
- Research and experiment: Once you have identified the specific elements that contribute to the desired tone, research the equipment and effects commonly associated with that sound. Look for information on the specific guitars, amplifiers, pedals, and settings used by the guitarists you admire. Experiment with different combinations of gear and settings to replicate the desired tone.Example: Discover that Eric Clapton achieved his iconic “woman tone” by using a Gibson Les Paul and a cranked Marshall amplifier with the tone control rolled back.
- Refine and personalize: While aiming to replicate a specific tone, don’t be afraid to add your own touch. Experiment with different variations and adjustments to make the tone your own. Fine-tune the settings on your gear, try different playing techniques, and consider incorporating additional effects to further customize the sound.Example: Adjust the tone control on your guitar and experiment with different pickup positions to find the perfect balance between brightness and warmth for your desired blues tone.
By following these steps, you can effectively identify and work towards replicating the guitar tone you desire. Remember to listen, research, experiment, and personalize your approach to achieve the best results.
Research and Experiment
To begin the process of achieving your desired tone, start by conducting thorough research on the effects pedals commonly used to achieve that specific sound. Look for recommendations from guitarists, gear forums, and professional reviews to gather information and insights. For example, if you’re aiming for a bluesy tone, you may find that a combination of overdrive, reverb, and delay pedals is often recommended.
Once you have gathered your research, it’s time to experiment. Begin by trying out different combinations of effects pedals, starting with the ones most commonly suggested. For instance, connect the overdrive pedal to your guitar and play around with its settings to see how it affects the tone. Then, add the reverb pedal and adjust its parameters to find the right balance. Finally, try out the delay pedal and experiment with its settings to enhance the desired tone further.
Alongside the effects pedals, don’t forget to experiment with your guitar amp settings. Adjust the gain, EQ, and other available options to fine-tune your tone. Remember to take note of the settings that yield the best results, as this will help you recreate your desired tone consistently.
By researching and experimenting with different combinations of effects pedals, settings, and guitar amp configurations, you will be able to find the closest match to your desired tone. This process may take some time and patience, but the end result will be a tone that truly reflects your style and preferences.
Understanding Signal Chain
To understand and optimize your signal chain, follow these steps:
- Identify your effects pedals: Take note of all the effects pedals you have and identify the order in which you want to connect them.
- Consider the different types of effects: Categorize your pedals into different types such as distortion, modulation, time-based effects (reverb and delay), and others. This will help you understand how they interact with each other.
- Start with distortion: Place any distortion pedals at the beginning of your signal chain. Distortion can alter the dynamics of your guitar’s signal, so it’s best to apply this effect first to maintain clarity.
- Experiment with modulation effects: Modulation effects like chorus, flanger, and phaser can be placed after your distortion pedals. These effects add movement and color to your tone.
- Add time-based effects: Place time-based effects like reverb and delay pedals towards the end of your signal chain. These effects create ambience and add depth to your sound.
- Consider other effects: Other effects like EQ, compression, and volume pedals can be placed at various points in the chain depending on how you want to shape your tone and control your dynamics.
- Experiment with different signal chains: Try rearranging your pedals to find the best arrangement for your desired tone. Start by placing similar effects together and then adjust the order based on your preference.
- Listen and adjust: Always listen carefully to the changes in your tone as you rearrange your signal chain. Make adjustments as needed to achieve the desired sound.
Remember, there’s no one-size-fits-all approach to signal chain, so feel free to experiment and find the arrangement that works best for your playing style and musical genre.
Adjusting Pedal Settings
- Identify the controls: Take a moment to familiarize yourself with the controls on your effects pedal. Locate the knobs or buttons for gain, tone, level, feedback, and modulation speed. Make sure you know which is which before proceeding.
- Adjust the gain: Start by adjusting the gain control. Increase it to add more distortion or overdrive to your sound, or decrease it for a cleaner tone. Experiment with different settings to find the right level of gain for your desired sound.
- Fine-tune the tone: Next, adjust the tone control to shape the overall sound. Turning it clockwise will usually boost the treble frequencies, while turning it counterclockwise will boost the bass frequencies. Find the balance that suits your preference and the style of music you’re playing.
- Set the level: Now, adjust the level control to match the volume of the effect with your dry signal. If the effect is too quiet, increase the level, and if it’s too loud, decrease it. Aim for a balanced and consistent volume when engaging the effect.
- Experiment with feedback: If your pedal has a feedback control, you can use it to introduce controlled feedback or sustain to your sound. Start by setting it to a low level and gradually increase it until you achieve the desired effect. Be cautious not to go too far, as excessive feedback can become unpleasant.
- Control modulation speed: For pedals with modulation effects like chorus or tremolo, adjust the modulation speed control to determine the speed at which the effect modulates your signal. Increase the speed for a faster modulation effect or decrease it for a slower, more subtle modulation.
Remember, each setting on your effects pedal contributes to the overall sound, so take the time to experiment and find the combination that best suits your playing style and desired tone.
Recording and Refining
To evaluate how your desired tone translates in a recording environment, follow these steps:
- Record your tone: Use a recording device or software to capture your playing or sound. Ensure that the recording device is set up correctly and positioned at an appropriate distance from the source of sound.
- Listen critically: Play back the recording and carefully listen to how your tone translates. Pay attention to any discrepancies or areas that could be improved.
- Make necessary adjustments: Identify any areas where your tone may need refinement. This could include adjusting the EQ settings on your amplifier or effects unit, experimenting with different pickup selections on your instrument, or tweaking your playing technique.
- Experiment with microphone placement: If you are using a microphone to capture your tone, try different positions and angles to find the sweet spot that best captures the desired sound. Move the microphone closer or farther away from the source, and experiment with different angles to achieve the desired balance.
- Explore post-processing effects: Consider using post-processing effects to enhance the recorded sound. Experiment with equalization, compression, reverb, or other effects to further refine your tone. Use your ears to determine which effects work best for your specific sound.
Remember, recording and refining your tone is a process of trial and error. Be patient and willing to try different techniques and adjustments until you achieve the desired result.
Key Takeaways from the Discussion
In conclusion, by implementing the techniques and tips discussed in this blog post, you will be well-equipped to achieve specific guitar tones using effects pedals. Remember that it takes time and practice to refine your sound, so be patient and willing to experiment with different combinations. With dedication and an open mind, you can unlock a world of unique and exciting guitar sounds. Keep pushing the boundaries and enjoy the journey of discovering your own signature tone.


I’ve been following this guide and I’ve had some great success in achieving the tones I wanted. The step-by-step approach really helped me dial in the right settings. Thanks for sharing!
I’m glad to hear that you found the guide helpful and achieved the tones you were looking for! Keep rocking!
I followed this guide and was able to achieve the exact tone I was looking for! I used a Boss DS-1 distortion pedal and a MXR Carbon Copy delay pedal, and it sounded amazing. Thanks for the helpful tips!
I would love to see future articles on how to achieve specific tones with multi-effects pedals. It can be overwhelming with so many options, so some guidance would be really helpful.
Thank you for your suggestion! I understand how overwhelming multi-effects pedals can be, and I’ll definitely consider writing an article on achieving specific tones with them. Stay tuned!
I’ve tried different variations of the pedal settings in step 5 and found that slight adjustments in the EQ and gain levels made a big difference in achieving my desired tone. It’s amazing how small tweaks can have a huge impact!
Absolutely! Small adjustments in the pedal settings can make a world of difference in achieving the perfect tone. It’s all about experimentation and finding what works best for you. Great job!
I adapted the steps in this guide to suit my acoustic guitar setup, and it worked surprisingly well! I used a reverb pedal and a compressor pedal, and the results were fantastic. Thanks for the guide!
That’s awesome! I’m happy to hear that you were able to adapt the guide to your acoustic guitar setup and achieve fantastic results. Keep experimenting and making great music!
Great guide! I would love to see a follow-up article on how to achieve specific tones using different types of guitar amps.
Thank you for your suggestion! I’ll definitely consider writing an article on achieving specific tones with different types of guitar amps. Stay tuned!
This guide was really helpful, but I’m looking for some advanced tips on using modulation pedals to achieve specific tones. Any suggestions?