How to program stage lighting cues?
Are you a stage technician or someone who is interested in learning how to program stage lighting cues? Look no further! Our step-by-step guide on “How to program stage lighting cues” is designed just for you. In this guide, we will walk you through the process of setting up and programming lighting cues for a stage production. Our goal is to help you become confident and proficient in creating dynamic and impactful lighting designs that enhance the overall experience for the audience. So, let’s dive in and unlock the secrets of stage lighting programming together!
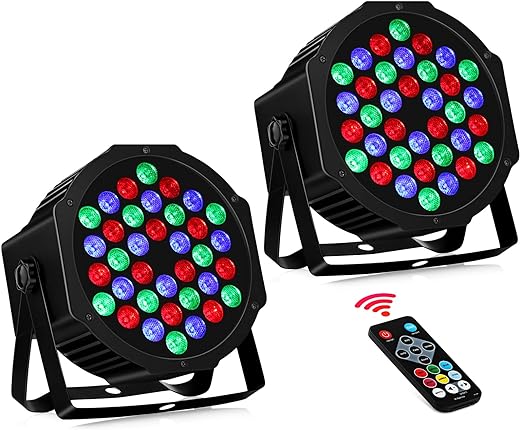
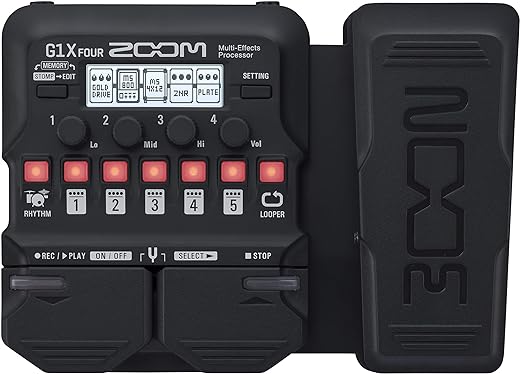
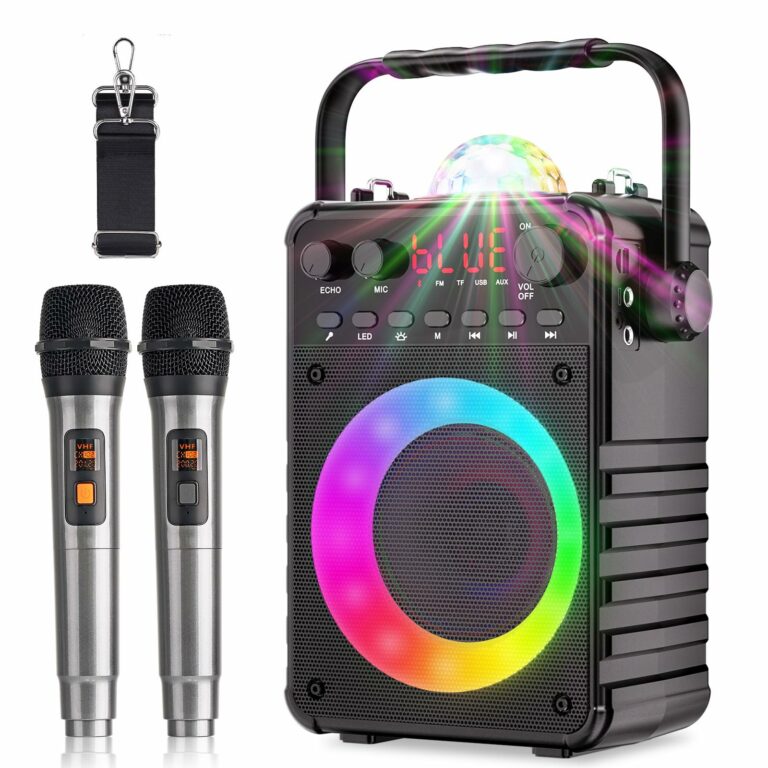
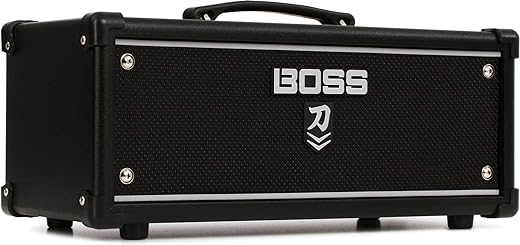
Top Picks in Stage Lighting


Understanding Stage Lighting
Understanding Stage Lighting is a comprehensive guide that offers an overview of stage lighting and its significance in enhancing performances. It covers the various elements and techniques involved in creating effective stage lighting, including the use of color, intensity, and positioning of lights. By illuminating performers and the stage, stage lighting helps to create mood, highlight key moments, and enhance the overall visual impact of a performance. For example, using a spotlight to focus on a solo singer can draw attention and create a dramatic effect, while using colored lights can evoke specific emotions or set the tone for a scene.


Identifying Cue Points
To identify key moments or cue points in a performance that require lighting changes, start by closely observing the performance and noting any significant actions, dialogues, or transitions. Pay attention to changes in mood or atmosphere, as well as any specific cues mentioned in the script. Consult with the director, choreographer, or other production team members to gain insights and clarify any uncertainties. Use this information to create a cue list or timeline that clearly indicates when lighting changes should occur during the performance.
Creating a Cue Sheet
To create a cue sheet that outlines the sequence of lighting changes for each cue point, start by identifying the cue points in your performance or event. Then, list the specific lighting changes that need to occur at each cue point. Ensure that you include details such as the type of lighting effect, intensity, color, and timing. Finally, organize the cue sheet in a clear and logical manner, grouping cues together and numbering them sequentially.
Programming Lighting Console
To demonstrate the process of programming cues into a lighting console or software, follow these steps:
- Access the lighting console: Power on the lighting console and ensure it is connected to the lighting fixtures. If using software, open the program on your computer.
- Select the cue you wish to program: Identify the cue you want to program, such as a specific lighting scene or movement. For example, you might want to program a cue that creates a smooth transition from dimmed lights to full brightness.
- Enter programming mode: Enter the programming mode on the lighting console or software. This mode allows you to make changes to the cue without affecting the live lighting.
- Adjust the lighting parameters: Using the console’s control buttons or the software’s interface, adjust the parameters for each fixture in the cue. This may include adjusting the intensity, color, position, or any other available controls. For instance, you could specify that certain lights should be red and positioned at specific angles during a particular cue.
- Record the cue: Once you have set the desired parameters, record the cue into the console or software memory. This step saves the cue for future use. For example, press the record button on the console and assign the cue to a specific playback fader or button.
- Repeat for additional cues: If you have more cues to program, repeat steps 2 to 5 for each cue. This allows you to create a sequence of cues for a complete lighting design. For instance, you could program a cue that gradually transitions from a blue spotlight on stage to an overhead wash of warm white light.
Remember to save your work regularly and test the cues in a live setting to ensure they function as intended. With these steps, you can effectively program cues into a lighting console or software to create dynamic and impactful lighting designs.
Assigning Lighting Fixtures
To assign lighting fixtures to each cue point and adjust their attributes, follow these steps:
- Navigate to the lighting control panel: Open the lighting control software or hardware interface on your computer or console.
- Select the desired cue point: Identify the cue point where you want to assign the lighting fixture.
- Access the fixture library: Locate the fixture library within the control panel. This library contains a list of available lighting fixtures.
- Choose the appropriate fixture: Browse through the fixture library and select the fixture that matches your requirements. Consider attributes such as beam angle, color, intensity, or any other desired effects.
- Assign the fixture to the cue point: Drag and drop the selected fixture onto the cue point in the control panel. This action will associate the fixture with the specific cue point.
- Adjust the fixture attributes: Once the fixture is assigned, you can adjust its attributes to achieve the desired lighting effect. Use sliders, numerical input, or other controls provided in the control panel to modify attributes such as brightness, color, movement, or any other relevant parameters.
- Save your changes: After assigning the fixture and making necessary adjustments, save your changes in the lighting control panel or software to ensure they are retained for future use.
By following these steps, you can seamlessly assign lighting fixtures to each cue point and customize their attributes, enabling you to create dynamic and visually appealing lighting designs.
Transitioning Between Cues
To achieve smooth transitions between different lighting cues, follow these techniques:
- Fade-in and fade-out: Gradually increase or decrease the intensity of the lighting to smoothly transition between cues. For example, to transition from a dimly lit scene to a brightly lit scene, gradually increase the intensity of the lights over a few seconds.
- Crossfade: Introduce the new lighting cue while fading out the previous one simultaneously. This technique helps create a seamless transition between cues. For instance, if you want to shift from a warm color scheme to a cool color scheme, slowly fade in the cool lights while fading out the warm lights.
- Preparation: Ensure that all necessary lighting changes are programmed in advance before executing the transition. This will allow for a seamless switch between cues without any delays or interruptions. Make sure to rehearse the transitions to ensure they are executed smoothly during live performances.
Remember, smooth transitions between lighting cues enhance the overall experience for your audience and contribute to a professional and polished production.
Testing and Refinement
To test the programmed cues and make necessary adjustments for optimal performance, follow these steps:
- Activate the programmed cues: Begin by activating the programmed cues according to the desired conditions or triggers.
- Observe and evaluate: Carefully observe the performance of the cues and evaluate their effectiveness. Pay attention to any inconsistencies or weaknesses that need to be addressed.
- Analyze the data: Collect and analyze data related to the performance of the cues. This can include metrics such as response time, accuracy, or user feedback.
- Identify areas for improvement: Based on the data analysis, identify specific areas where the cues can be improved. This could involve adjusting the timing, intensity, or frequency of the cues, or making changes to the visual or auditory components.
- Make necessary adjustments: Implement the identified improvements by making adjustments to the programming of the cues. Test the revised cues to ensure they align with the desired outcome.
- Repeat and refine: Repeat the testing process, making additional adjustments as needed, until the programmed cues achieve optimal performance.
By following these steps, you can systematically test and refine the programmed cues to enhance their performance and effectiveness.
Saving and Recalling Cues
To save programmed cues for future use and recall them as required, follow these steps:
- Saving Cues
- Press the “Save Cue” button on your control panel.
- Enter a unique cue number or name using the keypad or touchscreen.
- Press the “Save” or “Enter” button to confirm and save the cue.
- Recalling Cues
- Press the “Recall Cue” button on your control panel.
- Enter the cue number or name using the keypad or touchscreen.
- Press the “Recall” or “Enter” button to recall the cue.
Remember to save your cues regularly to ensure you don’t lose any important programming. Additionally, make sure to assign memorable names or numbers to cues for easy recall in the future.
Summary and Final Thoughts
In conclusion, programming stage lighting cues requires knowledge, practice, and creativity. Throughout this guide, we have explored the essential steps involved in creating effective lighting cues. From understanding the lighting console to mapping out the stage, each element plays a crucial role in achieving the desired visual impact.
Remember, practice makes perfect. Take the time to experiment with different cues, understand the nuances of lighting fixtures, and explore the possibilities of color and intensity. Embrace your creativity and think beyond the technicalities to bring your vision to life on the stage.
By mastering the art of programming stage lighting cues, you have the power to enhance the atmosphere, engage the audience, and elevate the overall production. So, keep learning, keep experimenting, and let your imagination shine through the lights. Happy programming!


I followed this guide and was able to program my lighting cues for a small theater production. The transitions between cues were seamless and the lighting effects really enhanced the overall performance. I couldn’t be happier with the results!
That’s fantastic to hear! It’s always rewarding when the lighting cues enhance the performance. I’m glad the guide was helpful for you.
This guide was incredibly helpful! I followed each step and was able to program my stage lighting cues flawlessly. Thank you for providing such clear and concise instructions!
I adapted step 3 by using a digital cue sheet instead of a physical one. This way, I can easily make changes and updates without having to rewrite everything. It has made the process much more efficient for me.
That’s a great adaptation! Using a digital cue sheet can definitely save time and make it easier to manage changes. Thanks for sharing your variation!
In addition to transitioning between cues manually, some lighting consoles also offer the option to create timed transitions. This can be useful for more complex lighting sequences or when precise timing is required.
I’m a beginner in stage lighting and I have a question about step 5. How do I assign specific lighting fixtures to each cue? Is there a specific method or software that I need to use?
Can you recommend any specific lighting console brands or models that are user-friendly for beginners? I’m looking to invest in one for my community theater.
There are several user-friendly lighting console brands that are great for beginners. Some popular options include ETC Element, Chauvet Obey series, and Avolites Titan Mobile. I recommend trying out a few models to see which one fits your needs and preferences best. Good luck with your search!