How to Integrate Music Audio Equipment with Other Devices
The step-by-step guide “How to Integrate Music Audio Equipment with Other Devices” is designed to help you seamlessly connect and synchronize your music audio equipment with various devices. Whether you want to enhance your home theater system, create a wireless audio setup, or connect your music devices to external speakers, this guide provides an easy-to-follow process. By following these steps, you will be able to integrate your music audio equipment with other devices, allowing you to enjoy high-quality sound across multiple platforms.
Top-rated audio gear for music lovers
Identify the Audio Equipment
To identify the audio equipment you want to integrate with other devices, follow these steps:
- Identify the speakers: Check for any speakers you have, such as bookshelf speakers, floor-standing speakers, or computer speakers.
- Example: Look for a pair of bookshelf speakers on your desk or a set of floor-standing speakers next to your TV.
- Identify the amplifiers: Look for any amplifiers you have, such as stereo amplifiers, power amplifiers, or headphone amplifiers.
- Example: Check if you have a stereo amplifier connected to your speakers or a headphone amplifier connected to your computer.
- Identify the receivers: Determine if you have any receivers, such as AV receivers, stereo receivers, or network audio receivers.
- Example: Check if you have an AV receiver connected to your home theater system or a stereo receiver connected to your turntable.
- Identify other audio devices: Look for any other audio devices you want to connect, such as CD players, turntables, or audio interfaces.
- Example: Check if you have a CD player connected to your stereo system or an audio interface connected to your computer.
By identifying these audio equipment, you will have a better understanding of what devices you can integrate with other external sources.
Check Compatibility
To check the compatibility of your audio equipment and the devices you want to connect it with, follow these steps:
- Check the specifications: Review the specifications of your audio equipment and the external devices to ensure they are compatible. Look for information on supported audio formats, sample rates, and bit depths. Make sure that both devices have compatible audio codecs to avoid any compatibility issues.
- Inspect the ports: Examine the ports available on both your audio equipment and the external devices. Ensure that they have the same type of ports or compatible adapters. Common audio ports include HDMI, USB, RCA, optical, and 3.5mm audio jacks. Make sure that both devices have matching ports for seamless connectivity.
- Consider connectivity options: Determine the connectivity options available on both the audio equipment and the external devices. Some devices support wireless connections like Bluetooth or Wi-Fi, while others may require wired connections. Check if both devices support the same connectivity options or if additional equipment is needed, such as Bluetooth dongles or audio cables.
- Research compatibility resources: If you are unsure about the compatibility between your audio equipment and external devices, consult product manuals, manufacturer websites, or online forums. These resources often provide detailed information on compatibility and offer insights from other users who have encountered similar compatibility issues.
By following these steps, you can ensure that your audio equipment and the devices you want to connect it with are compatible, avoiding any frustration or inconvenience when setting up your audio system.
Gather Necessary Cables and Adapters
To determine the cables and adapters required for the integration process, assess the specific devices you are working with. Identify the necessary connectors such as HDMI cables, RCA cables, optical cables, or any other cables required for seamless integration. Make a list of these cables and adapters to ensure you have all the necessary components before proceeding with the integration process.
Connect the Devices
To properly connect your audio equipment with other devices, you should follow the manufacturer’s instructions. Start by identifying the appropriate cables for the connection. For instance, if you are connecting a soundbar to your TV, use an HDMI cable or an optical audio cable. Plug one end of the cable into the soundbar’s corresponding port, and the other end into the TV’s audio output port. Ensure a secure and stable connection by firmly inserting the cables into the ports and tightening any screws or connectors if necessary.
Configure Audio Settings
To access the audio settings of your audio equipment, locate the settings menu on the device. Adjust the settings by selecting the audio options and making any necessary changes to optimize the audio output. Similarly, on the devices you are connecting to your audio equipment, access the audio settings by going to the settings menu. Ensure that the audio is routed correctly by selecting the appropriate input and output options.
Test the Integration
To test the integration, play audio from the connected device. Ensure that the audio is being transmitted and reproduced correctly through the audio equipment.
Troubleshoot and Fine-tune
To troubleshoot any issues or improve audio quality, start by double-checking your connections and settings. Ensure all cables are securely connected and check that the correct audio input/output is selected. If necessary, adjust volume levels or audio settings to optimize performance.
Document and Maintain
To ensure a smooth integration process, it is essential to document the steps taken and keep a comprehensive record of all connections and settings. This documentation will be invaluable for future reference, troubleshooting, and any necessary modifications or updates.
In addition, it is crucial to regularly maintain the audio equipment by performing routine checks and inspections. Make sure that all connections are secure and functional, and address any issues promptly. This proactive approach will help prevent audio disruptions and ensure optimal performance.
Final Thoughts
In conclusion, integrating music audio equipment with other devices requires careful attention to several key factors. Proper identification, compatibility, connection, configuration, testing, troubleshooting, documentation, and maintenance all play a crucial role in ensuring a seamless integration process. By following the guidelines outlined in this guide, you can successfully integrate your music audio equipment with other devices and enjoy a hassle-free audio experience. Remember to always prioritize compatibility, follow proper connection procedures, thoroughly test and troubleshoot your setup, and maintain adequate documentation for future reference. With these considerations in mind, you can confidently integrate your music audio equipment with other devices and enhance your audio setup effectively.
Tools and Materials Needed
Optimizing Audio Connections
Operating Instructions
- Familiarize yourself with the different components of music audio equipment, such as speakers, amplifiers, and audio sources
- Ensure that all the necessary cables and connections are properly set up and secure
- Adjust the volume levels to a comfortable level before playing any music
- Experiment with the different settings on the equipment, such as equalizers and sound modes, to find the desired sound quality
- Take care of your music audio equipment by cleaning it regularly and avoiding exposure to extreme temperatures or moisture
Frequently Asked Questions About Music Audio Equipment
Are there any specific audio formats or codecs that provide better sound quality?
Yes, there are specific audio formats and codecs that can provide better sound quality. Lossless audio formats, such as FLAC (Free Lossless Audio Codec) and ALAC (Apple Lossless Audio Codec), are designed to preserve the original audio quality without any loss in fidelity. These formats compress audio files while maintaining the exact same audio data as the original source, resulting in high-quality sound reproduction.
In terms of codecs, some widely used ones that offer improved sound quality are AAC (Advanced Audio Coding) and aptX. AAC is a compression codec commonly used for streaming and audio encoding, offering better sound quality than its predecessor, MP3. aptX is a codec developed specifically for Bluetooth audio, providing higher quality audio transmission over wireless connections.
It’s important to note that the sound quality also depends on the source material, the equipment used for playback, and the listener’s preferences. However, using lossless audio formats and codecs like FLAC, ALAC, AAC, and aptX can generally result in better sound quality compared to other formats or codecs.
How do you properly calibrate and set up a surround sound system?
To properly calibrate and set up a surround sound system, follow the steps below:
- Room layout: Begin by assessing your room layout and speaker placement options. Refer to the manufacturer’s guidelines for recommended speaker positions to ensure optimal sound distribution.
- Speaker connections: Connect each speaker to the designated audio output on your AV receiver using the appropriate cables. Ensure that the polarity (+/-) of each speaker is correctly aligned with the corresponding connections.
- AV receiver setup: Connect your AV receiver to the audio source (e.g., Blu-ray player, game console) using HDMI, optical, or coaxial cables. Make sure all connections are secure.
- AV receiver settings: Access your AV receiver’s setup menu and navigate to the speaker settings. Configure the speaker size, distance, and crossover frequency settings according to the specifications of your speakers. This information can usually be found in the user manual or on the manufacturer’s website.
- Speaker level adjustment: Use the AV receiver’s test tones or an audio setup disc to check and adjust the volume level of each speaker. This will ensure that the sound is balanced and properly distributed across all channels.
- Room correction: Many AV receivers come with room correction software or automatic calibration systems. Follow the instructions provided in the user manual to run the calibration process. This will help compensate for any acoustic anomalies in your room and optimize the overall sound quality.
- Fine-tuning: After the initial setup, listen to various audio sources and test different surround sound modes to find the settings that suit your preferences. Some AV receivers offer additional features like equalization, dynamic range control, or dialogue enhancement that you can adjust accordingly.
- Regular maintenance: Clean your speakers and AV receiver regularly to prevent dust buildup and maintain optimal performance. Check cables and connections periodically to ensure they are secure and undamaged.

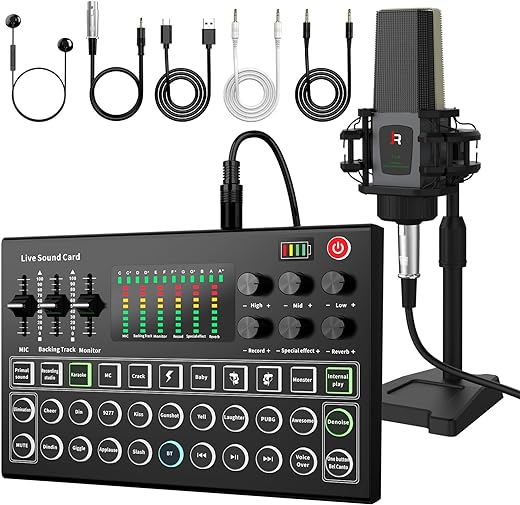


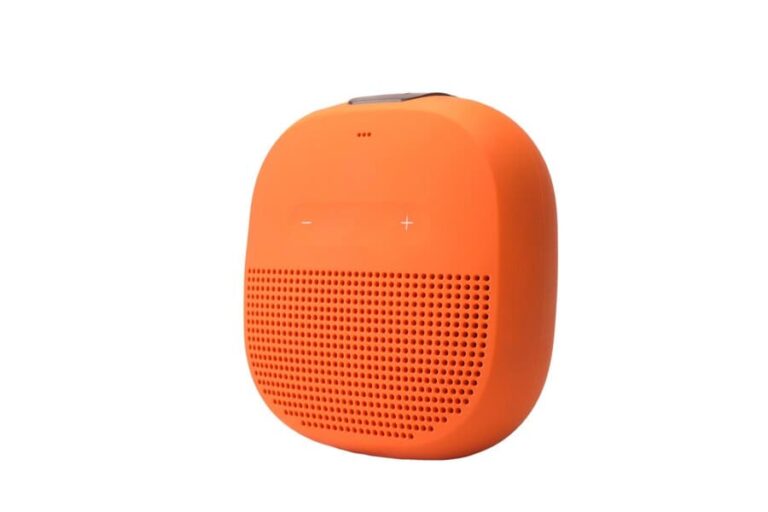

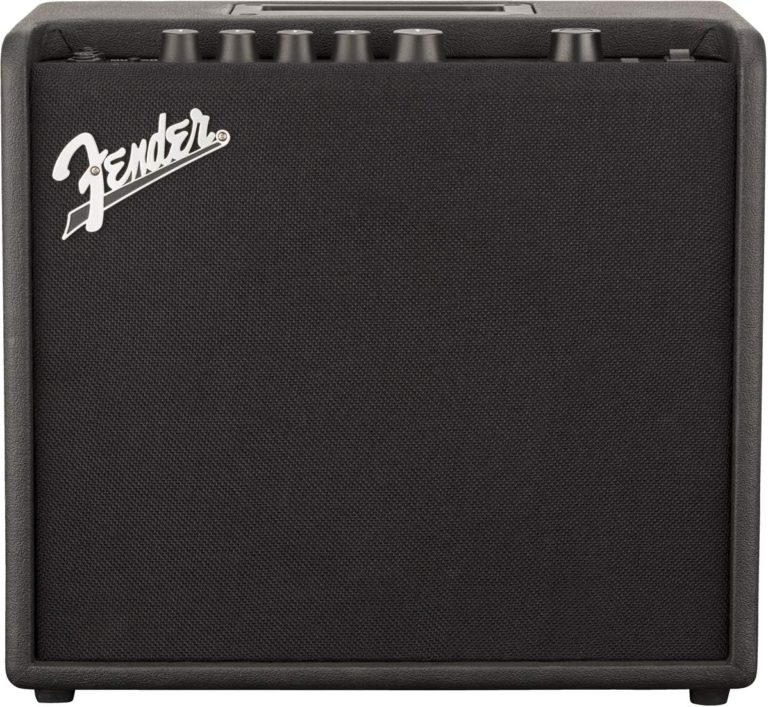
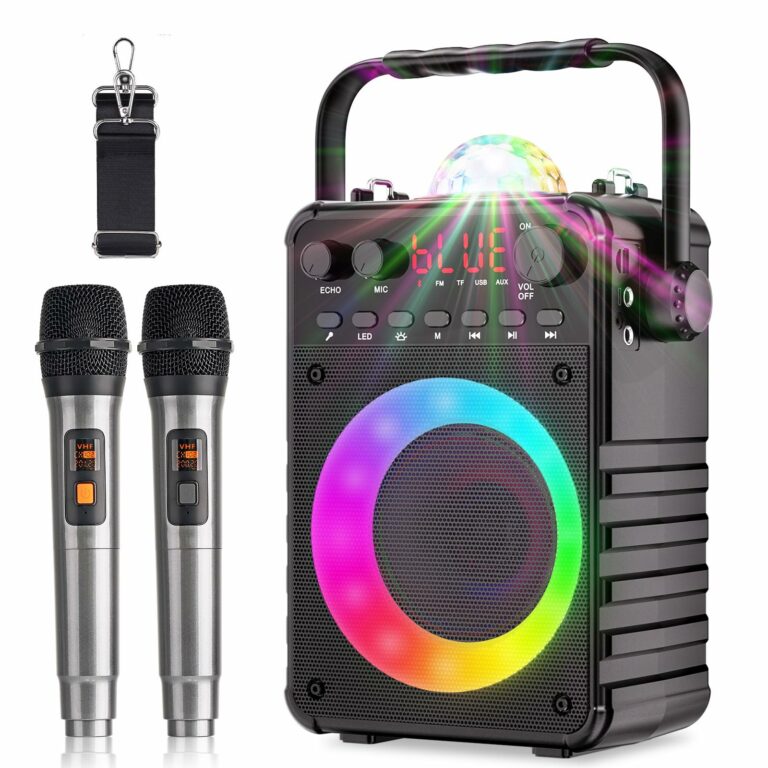
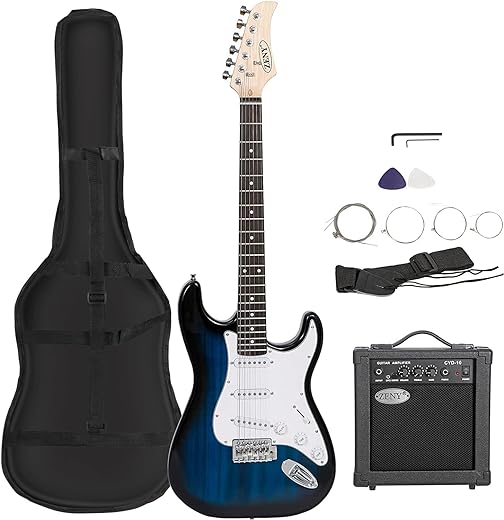
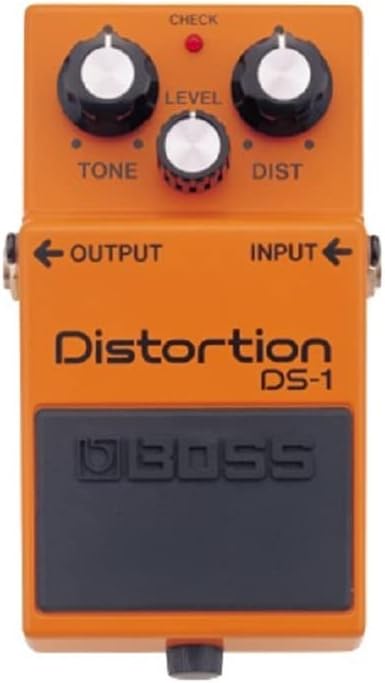
I followed this guide to integrate my audio equipment with my laptop and it worked like a charm! Now I can enjoy high-quality sound while watching movies or listening to music. Thanks for the step-by-step instructions!
I have a question about step 4. Is it possible to connect multiple devices to the audio equipment at the same time? I have a TV, gaming console, and a DVD player that I would like to connect. Will it cause any issues?
Thank you for this helpful guide! I would love to see an article on how to integrate music audio equipment with smart home devices like Amazon Echo or Google Home. It would be great to learn how to control the audio equipment using voice commands.