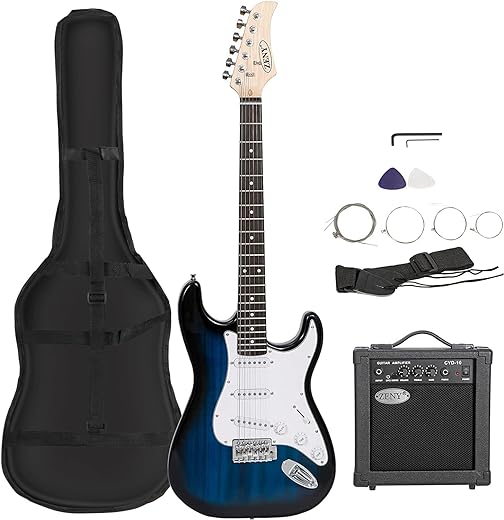
How to record acoustic guitar at home?
Are you an aspiring musician or a passionate hobbyist looking to capture the beautiful sound of your acoustic guitar in the comfort of your own home? If so, you’ve come to the right place. Recording acoustic guitar can be a challenging task, but with the right techniques and equipment, you can achieve professional-level results without breaking the bank. In this blog post, we will guide you through the process of recording acoustic guitar at home, providing you with valuable tips and insights that will help you bring out the best in your instrument. So, gather your guitar, grab a cup of coffee, and let’s dive into the wonderful world of home recording!
Understanding Acoustic Guitar Recording
Recording an acoustic guitar can be a challenging task, but understanding the characteristics of this instrument is crucial for capturing its true essence. In this blog section, we will delve into the importance of understanding acoustic guitar tonal qualities, the different types of acoustic guitars, and the optimal positioning for achieving the best sound in your recordings.
Tonal Qualities of Acoustic Guitars
Acoustic guitars possess distinct tonal qualities that can greatly influence the outcome of your recordings. It is essential to comprehend these characteristics to make informed decisions throughout the recording process. Here are some key points to consider:
- Body Shape: Different body shapes, such as dreadnought, concert, or jumbo, produce varying tonal characteristics. For example, a dreadnought body shape offers a balanced sound with pronounced bass, while a concert body shape provides a more focused and articulate tone.
- Wood Types: The choice of wood used for the guitar’s top, back, and sides significantly impacts the tone. For instance, a spruce top guitar delivers bright and dynamic tones, whereas a mahogany top guitar offers warm and rich tones.
- Strings: The type of strings you use can also affect the guitar’s sound. Lighter gauge strings produce a brighter tone with less sustain, whereas heavier gauge strings offer a fuller and more sustained sound.
Understanding these tonal qualities will help you make informed decisions when selecting the right guitar for your recording needs.
Types of Acoustic Guitars
Acoustic guitars come in a variety of types, each with its own distinct characteristics. Let’s take a closer look at some popular types:
- Steel-String Acoustic Guitars: These are the most commonly used acoustic guitars. They feature steel strings that produce a bright and vibrant sound. Steel-string acoustics are versatile and well-suited for various genres, including folk, rock, and pop.
- Nylon-String Acoustic Guitars: Also known as classical guitars, nylon-string acoustics have a mellower and warmer tone compared to steel-string guitars. They are commonly used in classical, flamenco, and Latin music genres.
- 12-String Acoustic Guitars: These guitars feature double courses of strings, creating a rich and chiming sound. 12-string acoustics add depth and shimmer to recordings, making them popular in folk and acoustic rock genres.
Each type of guitar offers its own unique sound, so it’s important to choose the right one for your desired recording style.
Optimal Positioning for Recording Acoustic Guitars
Achieving the best sound when recording an acoustic guitar requires careful positioning of microphones and understanding the guitar’s natural resonance. Here are some tips to help you capture the ideal sound:
- Microphone Placement: Experiment with different microphone placements to find the sweet spot. Placing a condenser microphone around the 12th fret captures a balanced sound, while positioning it near the soundhole emphasizes the guitar’s low-end.
- Distance from the Guitar: Adjust the distance between the microphone and guitar to achieve the desired balance between the instrument and room ambience. Closer placement provides more direct sound, while moving further away captures more room reflections.
- Room Selection: Consider the room’s acoustics when recording. A room with natural reverb can add depth and character to the recording, while a dead-sounding room may require artificial reverb during post-production.
Experimenting with microphone placement and room selection will allow you to find the perfect balance for capturing the acoustic guitar’s unique sound.
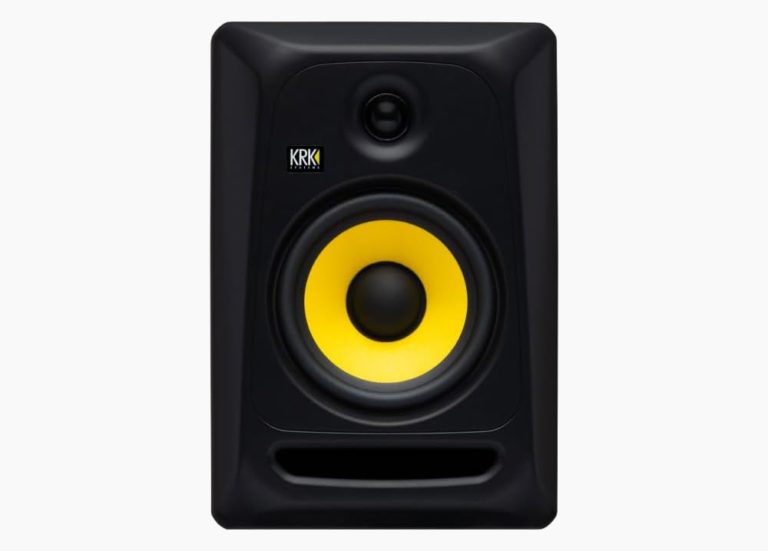
Choosing the Right Equipment
Recording acoustic guitar at home can be a challenging task, but with the right equipment, you can achieve professional-level recordings. In this blog section, we will guide you through the essential equipment needed and provide you with tips on selecting the right microphone, audio interface, and other accessories.
Selecting the Right Microphone
The microphone you choose plays a crucial role in capturing the true essence of your acoustic guitar. Here are some key factors to consider when selecting a microphone:
- Condenser vs. Dynamic: Condenser microphones are commonly used for recording acoustic guitar due to their ability to capture a wide frequency range and subtle nuances. Dynamic microphones, on the other hand, are more suited for live performances and can handle high sound pressure levels.
- Diaphragm Size: Large-diaphragm condenser microphones are popular for recording acoustic guitar as they provide a warm and rich sound. Small-diaphragm condenser microphones, on the other hand, offer a more detailed and accurate representation of the instrument.
- Polar Pattern: Cardioid microphones are commonly used for recording acoustic guitar as they focus on capturing sound from the front while minimizing background noise. However, if you want to capture the room ambience, you may opt for an omnidirectional microphone.
Some popular microphones for recording acoustic guitar include:
- Neumann U87
- Shure SM81
- Audio-Technica AT2020
Choosing the Right Audio Interface
An audio interface serves as the bridge between your microphone and computer, converting analog signals into digital data. Here are some factors to consider when choosing an audio interface:
- Number of Inputs: Consider the number of microphones or instruments you plan to record simultaneously. If you only require a single input for recording acoustic guitar, a simple two-input interface will suffice. However, if you plan to record multiple instruments, vocals, or collaborate with other musicians, opt for an interface with more inputs.
- Preamp Quality: A high-quality preamp is essential for capturing the nuances of your acoustic guitar. Look for interfaces with preamps that offer low noise, high gain, and transparent sound reproduction.
- Connectivity: Ensure that the audio interface you choose is compatible with your computer and offers the necessary connectivity options. USB and Thunderbolt interfaces are popular choices due to their ease of use and reliability.
Some recommended audio interfaces for recording acoustic guitar include:
- Focusrite Scarlett 2i2
- Universal Audio Apollo Twin
- PreSonus AudioBox USB 96
Essential Accessories
In addition to a microphone and audio interface, there are a few essential accessories that will enhance your recording experience. These include:
- Microphone Stand: A sturdy microphone stand will allow you to position the microphone accurately and maintain consistent mic placement.
- Pop Filter: A pop filter helps reduce plosive sounds that can occur when pronouncing certain letters. It is placed in front of the microphone to prevent unwanted bursts of air from distorting the recording.
- Acoustic Treatment: Consider adding acoustic treatment to your recording space to minimize reflections and create a more controlled environment. This can be achieved through the use of foam panels, bass traps, and diffusers.
- Cables: Ensure you have high-quality cables to connect your microphone and audio interface. XLR cables are commonly used for microphones, while instrument cables are used for connecting guitars to interfaces.
Final Thoughts
By selecting the right equipment, you can elevate your home recordings of acoustic guitar to a professional level. Whether it’s choosing the right microphone, audio interface, or accessories, investing in quality gear will greatly enhance the sound quality and overall recording experience. Take your time to research and consider your specific needs to make informed decisions. Happy recording!
Setting Up Your Recording Space
Creating an optimal recording environment is essential for capturing the true essence of the acoustic guitar. In this section, we will guide you through the process of setting up your recording space to ensure the best possible sound quality. From acoustic treatment to room positioning, we will cover all the necessary considerations to achieve professional results.
Acoustic Treatment
Acoustic treatment plays a critical role in minimizing unwanted reflections and achieving a balanced sound. Here are a few key factors to consider:
- Absorption: Incorporate acoustic panels or diffusers to reduce excessive reverberation. Brands like Auralex and GIK Acoustics offer a wide range of effective solutions for controlling room reflections.
- Bass Traps: Address low-frequency issues by using bass traps. Companies such as Primacoustic and RealTraps provide excellent options for combating bass buildup in your recording space.
- Placement: Position your acoustic treatment strategically. Identify primary reflection points, such as the walls directly in front of and behind your recording position, and apply absorption or diffusion panels accordingly.
Room Positioning
Properly positioning your guitar and microphone within the room can greatly impact the recorded sound. Consider the following suggestions:
- Guitar Placement: Experiment with different locations within the room to find the best sound. Avoid corners or walls that may cause excessive bass buildup. Placing the guitar away from reflective surfaces can help achieve a clearer and more focused sound.
- Microphone Placement: Position the microphone to capture the desired tone. Use a microphone stand or boom arm to achieve consistency during recording sessions. Experiment with microphone distance and angles to find the sweet spot for your guitar.
Other Considerations
While acoustic treatment and room positioning are crucial, paying attention to a few additional factors can further enhance your recording space:
- Background Noise: Minimize unwanted background noise by choosing a quiet location. Use products like the Neumann TLM 102 or the Shure SM7B, known for their excellent noise rejection capabilities.
- Isolation: Consider using a reflection filter or portable vocal booth to isolate the guitar and microphone from room reflections. Brands like SE Electronics and Aston Microphones offer effective solutions to improve the clarity of your recordings.
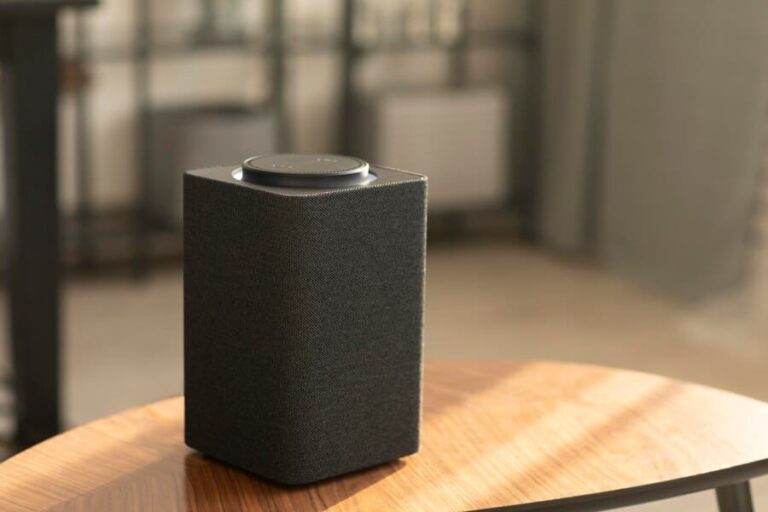
- Monitoring: Invest in a good pair of studio monitors or headphones to accurately monitor your recordings. Brands such as Yamaha, Genelec, and Sennheiser provide high-quality options for critical listening.
Recording Techniques and Tips
When it comes to recording, achieving the desired sound can be a challenging task. However, with the right techniques and tips, you can enhance the overall recording quality and capture the essence of your music or audio. In this section, we will explore various recording techniques and provide valuable insights to help you achieve professional results.
Microphone Placement
The placement of your microphone is crucial in capturing the desired sound accurately. Here are some key tips to consider:
- Distance: The distance between the microphone and the sound source can greatly affect the recording. Experiment with different distances to find the sweet spot that captures the desired level of detail and ambiance.
- Angle: Varying the angle of the microphone can significantly impact the sound. For example, pointing the microphone slightly off-axis can reduce plosive sounds or sibilance.
- Proximity Effect: Understanding the proximity effect can help you achieve desired tonal characteristics. Moving the microphone closer to the sound source can result in a warmer, bass-heavy sound, while moving it further away can produce a more balanced sound.
Preamp Settings
The preamp is an essential component in the recording chain, amplifying the signal from the microphone. Optimizing your preamp settings can greatly improve the recording quality. Consider the following:
- Gain: Adjusting the gain properly ensures a clean and balanced signal. Avoid clipping by setting the gain level just below the point where distortion occurs.
- Impedance: Matching the impedance of your microphone to the preamp can optimize the signal transfer and minimize noise. Some preamps offer selectable impedance settings to accommodate different microphones.
- Pad and Phase: Implementing a pad can attenuate the input signal when recording loud sources, preventing distortion. Additionally, checking the phase relationship between multiple microphones can avoid phase cancellation issues.
Room Acoustics
The acoustic properties of your recording environment play a significant role in the overall sound quality. Consider the following tips:
- Reflections: Minimize unwanted reflections by using acoustic treatment, such as absorptive panels or diffusers, to create a controlled and balanced sound.
- Ambience: Depending on the desired sound, you may want to capture the natural ambience of the room. Experiment with microphone placement and room positioning to achieve the desired level of room sound.
- Isolation: When recording multiple sound sources simultaneously, isolation is crucial to prevent bleed. Use baffles, gobos, or isolation booths to reduce unwanted sound interference.
Additional Tips
Here are a few more tips to enhance your recording process:
- Pop Filters: Using a pop filter can reduce plosive sounds caused by strong bursts of air, resulting in cleaner recordings.
- Shock Mounts: Mounting your microphone on a shock mount can minimize unwanted vibrations and handling noise, ensuring a clean recording.
- Headroom: Leave sufficient headroom in your recording to avoid clipping and provide room for post-processing and mastering.
- Monitoring: Utilize quality studio monitors or headphones to accurately monitor your recordings and make informed decisions during the recording process.
Wrapping Up: Final Thoughts on Recording Acoustic Guitar in a Home Studio
In conclusion, by following the steps outlined in this blog post, you can confidently record acoustic guitar at home and produce high-quality results. Remember to prioritize understanding the nature of your instrument, investing in suitable equipment, creating an optimal recording environment, and implementing effective techniques. With perseverance and experimentation, you will uncover the perfect setup that showcases your individual sound preferences. Happy recording!

I noticed you didn’t mention anything about using a DI box when recording acoustic guitars. Could you provide some information on that?
That’s a great point! I apologize for not including information about using a DI box in the article. I will update it to include that important aspect of recording acoustic guitars. Thank you for bringing it to my attention!
Great article! I found it really helpful. I would love to see a future article about recording electric guitars at home.
Could you please explain the difference between dynamic and condenser microphones for recording acoustic guitars?
Absolutely! Dynamic and condenser microphones have different characteristics that can affect the sound recorded from an acoustic guitar. I’ll make sure to cover that topic in a future article to provide a detailed explanation. Thank you for your question!
I’ve been using the ABC audio interface for my acoustic guitar recordings and it works really well. Just wanted to share that as a suggestion for others looking for a good interface.
Thank you for sharing your suggestion! The ABC audio interface is indeed a popular choice for recording acoustic guitars. It’s great to know that it has been working well for you. I’m sure others will find this information helpful!
I have a small recording space with a lot of background noise. Do you have any tips for minimizing noise interference?
Absolutely! Minimizing background noise is crucial for achieving a clean recording. I will definitely cover that topic in more detail in a future article. Stay tuned!
I have the XYZ condenser microphone and I’m really happy with the sound quality. It’s a great option for recording acoustic guitars!
That’s wonderful to hear! The XYZ condenser microphone is indeed a popular choice for recording acoustic guitars. It’s great to know that you’re happy with the sound quality it provides.
Thank you for your feedback! I’m glad you found the article helpful. Recording electric guitars at home is a great topic suggestion, and I’ll definitely consider it for a future article.