How to integrate an audio interface with your existing studio setup?
This step-by-step guide will walk you through the process of integrating an audio interface into your existing studio setup. It begins by explaining the purpose and importance of an audio interface, highlighting its role in capturing and processing audio signals.
Next, the guide covers the necessary equipment and cables you will need to connect your audio interface to other devices in your studio. It provides recommendations for selecting the right audio interface based on your specific needs and budget.
The guide then proceeds to explain the step-by-step process of physically connecting the audio interface to your studio setup. It covers topics such as connecting the audio interface to your computer, linking it to speakers or headphones, and establishing proper signal routing.
Furthermore, the guide delves into the software setup required to ensure smooth operation of your audio interface. It outlines the installation process for drivers and software, and provides guidance on configuring audio settings in your recording software.
Throughout the guide, troubleshooting tips and common issues are addressed to help you overcome any obstacles you may encounter during the integration process.
By following this step-by-step guide, you will be able to successfully integrate an audio interface into your existing studio setup, enabling you to achieve professional-quality sound recordings.
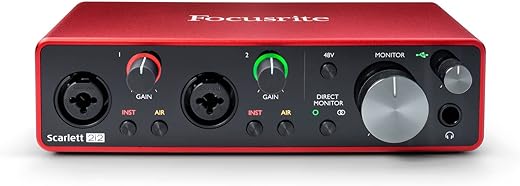
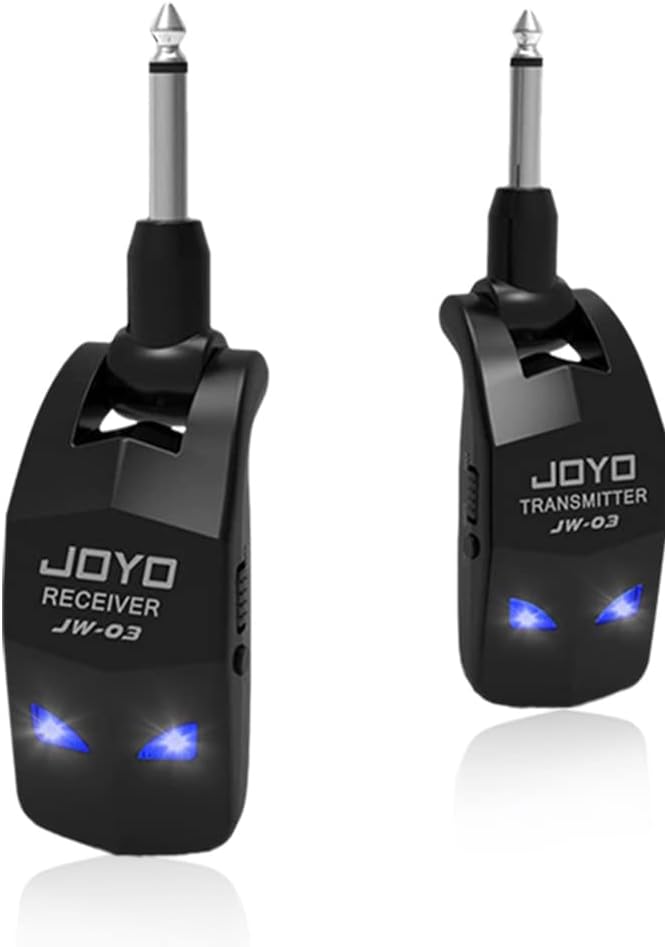
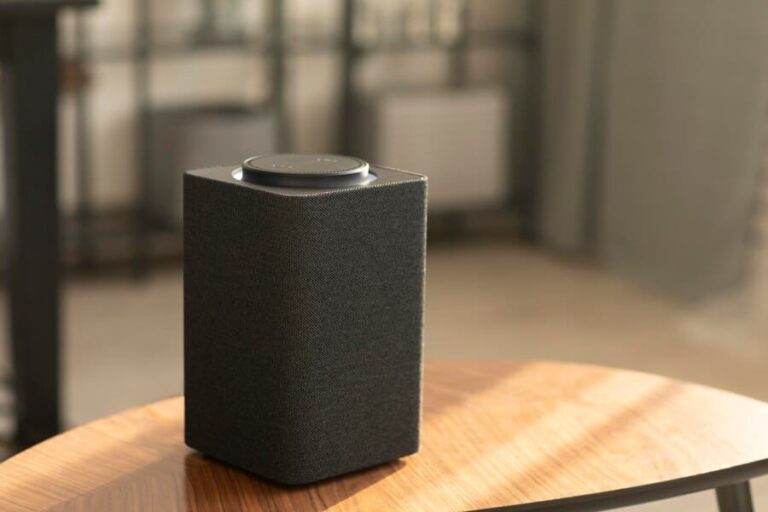
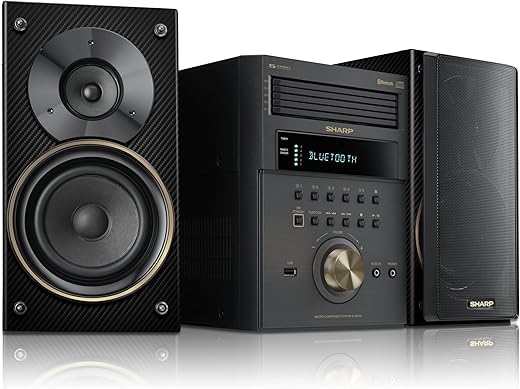
Top-selling audio interfaces for professional use


Check Compatibility
Before integrating an audio interface, it is crucial to verify its compatibility with your computer or device. To do this, you need to check the system requirements provided by the audio interface manufacturer. Start by visiting the manufacturer’s website or referring to the product documentation for detailed information regarding compatibility.
First, determine the operating system (OS) requirements for the audio interface. Check if the interface is compatible with your computer’s OS, whether it’s Windows, macOS, or a specific version of Linux. Make sure your computer meets the minimum OS requirements specified by the manufacturer.
Next, review the hardware requirements of the audio interface. Check if your computer has the necessary ports or connections for the interface. For example, some interfaces require USB 2.0 or higher ports, Thunderbolt connections, or specific expansion slots. Ensure that your computer has the required hardware capabilities to support the audio interface.
By thoroughly examining the system requirements and verifying compatibility, you can ensure a smooth integration of the audio interface with your computer or device. Always double-check the information provided by the manufacturer to avoid any potential compatibility issues.


Connect Power and Cables
To connect the power supply to the audio interface, follow these steps:
- Locate the power input on the audio interface and plug one end of the power supply into it.
- Ensure the power supply is securely connected to the audio interface.
- Connect the other end of the power supply to a reliable power source, such as a wall outlet or power conditioner.
- Make sure the power source is turned on and supplying electricity to the audio interface.
To connect the appropriate cables from the audio interface to your computer or device, use the following instructions:
- Identify the type of connection required between your audio interface and computer/device. This can be USB, FireWire, or Thunderbolt.
- Obtain the appropriate cable that matches the connection type. For example, if you are using a USB connection, you’ll need a USB cable.
- Locate the corresponding ports on both the audio interface and your computer/device.
- Plug one end of the cable into the port on the audio interface, ensuring a snug fit.
- Connect the other end of the cable to the corresponding port on your computer/device.
- Ensure the cable is securely connected on both ends.
- Repeat the process if you need to connect additional cables for other connections, such as MIDI or auxiliary input/output.
Following these steps will ensure that you have successfully connected the power supply and cables between your audio interface and computer/device.
Install Drivers
To ensure proper functionality of your audio interface, it is crucial to install the correct drivers. These drivers are specifically designed for the make and model of your audio interface and are typically provided by the manufacturer. Proper installation of drivers is essential for the audio interface to interface seamlessly with your computer’s operating system.
To install the drivers correctly, start by locating the driver software provided by the manufacturer. This software is usually included on a CD or can be downloaded from the manufacturer’s website. Insert the CD into your computer’s CD drive or download the driver software from the manufacturer’s website and save it to a location on your computer.
Next, run the driver installation program by double-clicking on the downloaded file or accessing the CD drive. Follow the on-screen instructions provided by the installation wizard. These instructions will vary depending on the manufacturer and the specific audio interface model.
Once the installation is complete, it is recommended to restart your computer to ensure that the drivers are properly loaded into the system. After the restart, your audio interface should be recognized by your computer, and you can start using it with your preferred audio software.
Remember, it is essential to always use the latest drivers provided by the manufacturer to ensure optimal performance and compatibility. Check for driver updates periodically on the manufacturer’s website and install any necessary updates to keep your audio interface running smoothly.
Configure Audio Settings
Once the drivers are installed, configure the audio settings on your computer or device. To do this, follow these steps:
- Access the sound settings on your computer or device. This can usually be done by right-clicking on the volume icon in the taskbar and selecting “Sound settings” or by going to the Control Panel and finding the “Sound” or “Audio” settings.
- In the sound settings, locate the option to select the default input and output device. This is where you will choose your audio interface. Click on the drop-down menu and select your audio interface from the list of available devices. For example, if you are using a USB audio interface, it might be listed as “USB Audio Interface” or something similar.
- Next, adjust the sample rate and buffer size according to your requirements. The sample rate determines the quality and clarity of the audio, while the buffer size affects the latency or delay in audio playback. You can usually find these settings in the advanced options or preferences of your audio settings.
For example, if you are using a digital audio workstation (DAW) like Ableton Live, you might go to the preferences menu, select the audio tab, and adjust the sample rate to 44100 Hz and the buffer size to 128 samples for optimal performance.
By following these steps and adjusting the audio settings on your computer or device, you can ensure that your audio interface is properly configured and ready to deliver high-quality sound for your needs.
Test and Troubleshoot
After completing the previous steps, test the audio interface by following these instructions:
- Connect your audio source, such as a microphone or instrument, to the audio interface’s input using the appropriate cables. For example, if you are using a microphone, connect it to the XLR input of the audio interface.
- Open your audio recording software on your computer and select the audio interface as the input and output device. This can usually be done in the preferences or settings section of the software. Make sure the correct input and output channels are selected.
- Play audio through the audio interface by selecting a track or file in your software and pressing the play button. Check that the sound is being played back correctly through your speakers or headphones connected to the audio interface’s output.
- Record sound by arming a track in your software for recording and pressing the record button. Speak into the microphone or play your instrument to capture sound. Check that the audio is being captured correctly and that the recording levels are adequate.
If you encounter any issues during the testing process, refer to the troubleshooting section of the audio interface’s manual for guidance. Alternatively, you can contact the manufacturer’s support for assistance. They will be able to provide you with specific troubleshooting steps or help resolve any problems you may be facing.
Final Thoughts
In conclusion, integrating an audio interface with your existing studio setup is a straightforward process that can greatly enhance your audio quality and recording capabilities. By ensuring compatibility, connecting power and cables correctly, installing drivers, configuring audio settings, and testing the functionality, you can successfully integrate the audio interface into your studio. So, go ahead and enjoy the benefits of a seamlessly integrated audio interface in your professional studio setup.


![Best Stereo Receivers for Superior Sound Quality in 2024 [TOP 6 Picks]](https://forthecountryrecord.com/wp-content/uploads/2024/02/sonystrdh59052channelsurroundsoundreceiver-768x253.jpg)


I recently integrated my audio interface with my studio setup and one thing I found helpful was to make sure my computer had enough USB ports to connect all the cables. It can be frustrating to realize you don’t have enough ports and have to go out and buy a USB hub. So my tip is to check the number of available ports before getting started.
After following all the steps in this guide, I successfully integrated my audio interface with my studio setup and the difference in sound quality is amazing! I can now hear every detail in my recordings. Thank you for the clear and concise instructions!
Does anyone have any specific audio interface recommendations? I’m looking to upgrade my current setup and would love some suggestions on reliable and high-quality interfaces.